Saturday, August 10, 2013

String of Pearls - The long tedious part...

I'm making great progress on my String of Pearls QA quilt (at Christa's Quilts).  Now the hard part for me begins.  I used to be afraid to do bindings.  Now that I have my machine sewn method down pat it's a couple hour process.  BUT this quilt is a little more special and needs some extra attention.  This binding will be HAND SEWN -- Ewwwww!  Yes, it will look awesome, but it will take me forever.  I got three feet done yesterday and it took me two hours!

 
I love the orange I picked for the binding.  But this is how I will see the quilt for the next week.  All balled up in a little pile just waiting for my sore fingers to do another three feet and watch a movie.
 
Below is a pic of the quilting.  I just love this swirl pattern!
 
 
Christa's Quilt Along
 
I've heard of this one but never tried it:
 
SHARE this to SAVE to your timeline Because I will NOT BE POSTING THIS AGAIN!!! **WARNING not a diet recipe*****

Chocolate Suicide

Cookie dough on bottom
Oreo arranged in the middle
brownie batter poured over the top.
Bake until brownies are done....top with ice cream and chocolate syrup to go on over the top!!!!!!!!!!

This for Me would be an Eat in Moderation or maybe once every 6 months 

♥♥♥SHARE so you can find it on your timeline♥♥♥

Click and join us here---for more every day fun, tips, recipes, weight loss support & motivation.. https://www.facebook.com/groups/bobbiskinnyfriends/

And Please feel free to FOLLOW me and or ADD me as a friend for recipes, tips, DIY's and much more. https://www.facebook.com/bobbi.inman

Need a natural way to lose weight? 
Go here: www.sfdiva.eatlessfeelfull.com.
 
 
**WARNING not a diet recipe*****

Chocolate Suicide

Cookie dough on bottom...
Oreo arranged in the middle
brownie batter poured over the top.
Bake until brownies are done....top with ice cream and chocolate syrup to go on over the top!!!!!!!!!!
 

Thursday, August 8, 2013

String of Pearls on the Frame

It's finally loaded on the longarm and lookin' good!!!  It's nice and straight and smooth and square.  Woot woot!  Now all I need is a day off and my little guy to go to science camp and it will be a quilt!  I can't wait... can't wait!  I'm still so happy with the colors on this one.  I don't think I posted the back for you.  Guess you'll have to wait to see that later.  I'm not crawling under it unless I have to.

 
But will it make it to the fair?  Deadline for paperwork is 8/10...
 
Never buy boxed brownie mix again! Follow the recipe below and make brownies for approximately .30 a mix! 
Be sure to save this by clicking "SHARE"! You will be able to find it on your own timeline later!
So simple, so easy. Not just frugal but cuts out the unknown ingredients. 
1 Cup Sugar, 1/2 Cup All-Purpose Flour, 1/3 Cup Cocoa, 1/4 tsp Salt, 1/4 tsp Baking Powder. 
At Baking Time Add: 2 Eg...gs, 1/2 Cup Vegetable Oil, 1 teaspoon Vanilla. 
Bake @ 350 degrees for 20-25 minutes in an 8x8 or 9x9 pan. OR use the amazing Pampered Chef brownie pan and bake it in much less time - depends on your oven, check after 12-15 minutes of baking and remove when brownies are done!
Put mix in plastic bags or mason jars.
Never buy boxed brownie mix again! Follow the recipe below and make brownies for approximately .30 a mix!
Be sure to save this by clicking "SHARE"! You will be... able to find it on your own timeline later!
So simple, so easy. Not just frugal but cuts out the unknown ingredients.
1 Cup Sugar, 1/2 Cup All-Purpose Flour, 1/3 Cup Cocoa, 1/4 tsp Salt, 1/4 tsp Baking Powder.
At Baking Time Add: 2 Eg...gs, 1/2 Cup Vegetable Oil, 1 teaspoon Vanilla.
Bake @ 350 degrees for 20-25 minutes in an 8x8 or 9x9 pan. OR use the amazing Pampered Chef brownie pan and bake it in much less time - depends on your oven, check after 12-15 minutes of baking and remove when brownies are done!
Put mix in plastic bags or mason jars.

Tuesday, August 6, 2013

Star Surround Flying Geese

Here's the progress of my flying geese for my Star Surround blocks for the QA at Happy Quilting.  My geese are made of two HST because the whole quilt was cut with Accuquilt dies.  You also get to see the other fabric I am using for this quilt.  This quilt started out very, very traditional as a two fabric quilt.  BUT I realized after cutting the print HST that I was 69 triangles short of what I needed.  I added the green/blue print as pictured.  So now my traditional quilt will be "modern".  But then again, will it really be modern?  Isn't this what my grandma would have done???  Yes, she would have picked another fabric and just kept going.  So now my traditional gone modern is really modern going back to traditional.

(Ewww! Don't you just love my icky towel that I use as an ironing board... It's a sentimental towel that belonged to my Aunt.  It just works perfectly.  Why change it if it works perfectly?)
 
 
Check out what the others are doing in this step and oooh and ahhh over their fabrics at Melissa's blog, Happy Quilting.


Monday, August 5, 2013

August Block Lotto

Here's my first three stars for the August Block Lotto.  They are called Tall Star.


Join me on the Block Lotto Blog

Saturday, August 3, 2013

2013 BOM Quilt Doodle Designs August Block

Here's my block for the 2013 BOM at Quilt Doodle Designs for August.  Love these browns!


And here's my quilt thus far with the sashing (and my helper).


Friday, August 2, 2013

MMMRR13 Complete

Today's Friday finish is my Modern Mini Mystery Round Robin 2013 (MMMRR13).  I finished it with some basic stippling.

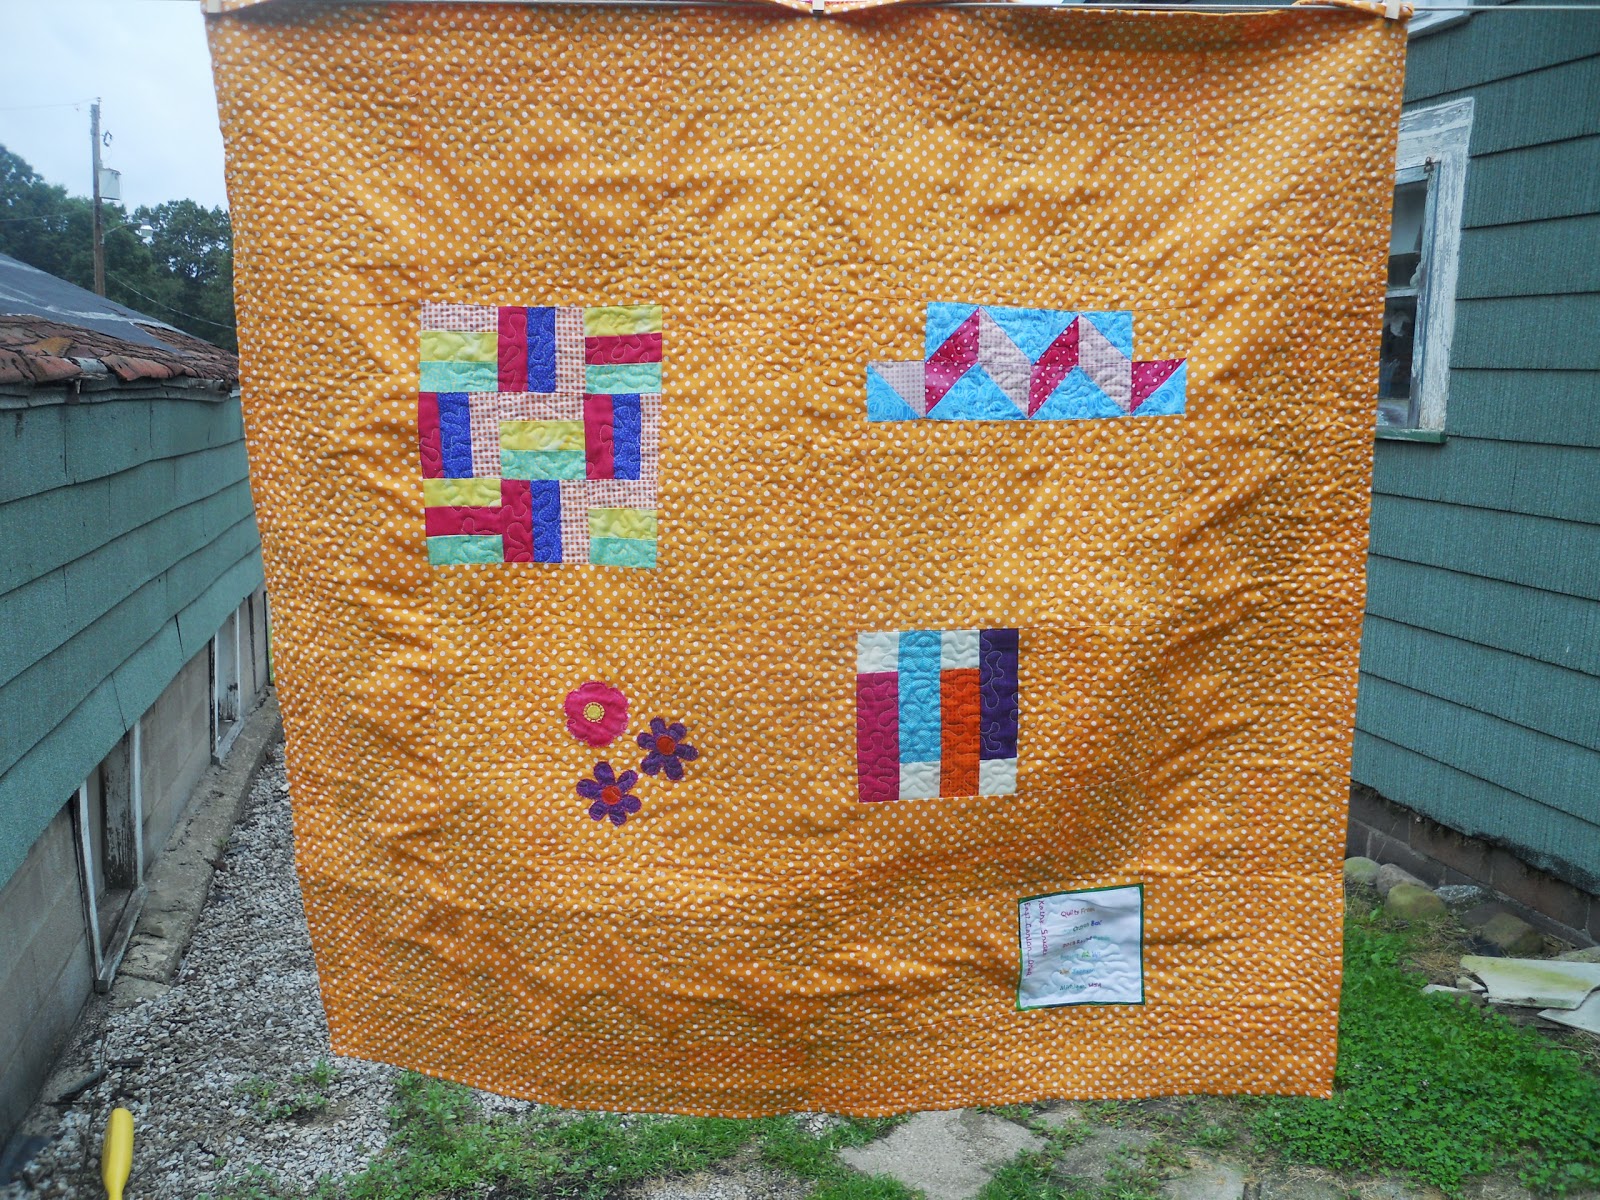
Thanks again to Michelle from Quilts From My Crayon Box and all the wonderful ladies that added to my fun quilt.  Here's the back.  You can see that I did not stipple around the chevron row on the front to try to get it to look puffier.  I didn't really do the quilt justice.  I should have just done an all over stipple just missing the applique and been done with it.  This quilt will most likely hang on the wall in my longarm room someday when the longarm room is finished.

 
I'm happy to link up with Richard and Tanya Quilts for the Link-A-Finish FRIDAY.

 
I'm also showing off this finish by joining the linky parties on:

Thursday, August 1, 2013

Lucky Stars QA (Quilt Story) Quilt Top Complete

Here's my Lucky Stars QA quilt top.  I'll need to research civil war quilt backs next.  I'm not sure what I will do for the backing fabric(s).  This is my first MODA quilt.  These fabrics were bought by a friend of mine who loves garage sale deals.  She bought them for me and didn't even know what a jelly roll was.  The jelly roll was called Civil War Crossings.  There were also a few coordinating fat quarters.  Perfect for the fabric requirements for this quilt.  I paired it up with the blue print Village Green Thimbleberries fabric that I bought a while back when a local quilt shop went out of business.  I think it turned out nice and dark.  I'm almost positive that I will straight line quilt it.  We'll see how straight it is once I load it onto the longarm.  This was my first QA at Quilt Story.


Quilt Story
 
 
With this quilt top complete there's nothing holding me back from starting another.  I am joining in with Melissa at Happy Quilting.  I'm doing this the Star Surround QA just a little lazy differently than the rest of the group.  I used my Accuquilt GO! Baby dies and let them do all the cutting for me.  I'm going with a 3 x 3 layout.  The squares should be 3" finished making it about 72" x 72" without borders.  With this method not only will my cutting be nice and accurate, there will be little/no trimming and NO LINE DRAWING for the HST!  Whohoo!  I went with just a background and a print.  Here's a few HST and my big pile to put together.  Can't wait to just chain piece!  LOVE chain piecing!!!

 
Check out what everybody else did this week at:
 
For the record, this quilt was made by using Accuquilt dies 55006 Square 3.5", and 55009 Half Square - 3" Fin. Triangle.
 
HST Print 324
HST Solid 324
Square Print 144
Square Solid 108
 
Because I am using 3" squares for the center of the block I decided not to make the four center pieces with HST.  Had I gone scrappy with the stars instead of two colors it would have been:
 
HST Print 396
HST Solid 324
Square Print 108
Square Solid 108
 
I think I started out with about 3 3/4 yard of print, but I'm not sure on that.  I only have a 3.5" piece left!  Whew... that was close!